TABLE OF CONTENTS
Using messaging templates can help create a customized look for your tournament emails. If you haven't already learned how to set up a basic message, please see this help doc article first, before using templates.
Message Templates
Choosing a template from the dropdown menu shown below, will start you off with a sample document that you can modify as needed. Each choice creates it’s own sample. The sample shown here was generated by choosing “All Non-Withdrawn Registrations”.
Navigate to the "Email templates" link after you've filled out the "filters" info:

You can see that this template has space to customize a message:


The Template Header
The Template Header is similar to what you would find with most word processors. It consists of a series of buttons that perform a variety of formatting tasks. Hover over any button for a description of its function.
This button, , indicated above, allows you to add “snippets”, or specific information from your tournament and/or player records, in order to customize your message.

Available snippets that can be included as part of the subject of the email are:
- Tournament Title
- Attendee Last Name
- Attendee First Name
Available snippets that can be included in the body of the email are:
- Tournament Title
- URL
- Logo
- Date Registration Open
- Date Registration Close
- Date First Event
- Date Last Event
- Date Age Based On
- Description
- Additional Info
- Refund Policy
- Location List
- Medal Results
- Sponsors
- All Start Times
- All Active Events
- Attendee FirstName
- Attendee LastName
- Attendee Non Waiting List Events
- Attendee Waiting List Events
- Attendee Start Times
Template Features
- Subject – The default subject for this template is the Account Title, which is the name of the tournament. You may remove that or add to it as you’d like. Click on the snippet selector to add any of the pre-defined subject snippets or type directly into the subject box to create your own subject.
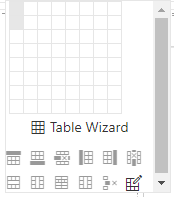
- Column Format – The body of the message is contained within a large column or box whose outline is defined by the dotted line borders. Click on the top corner of the box to move it or change its size. Columns are part of tables, in this case, a table with only one column. Clicking on the table button,
 ,will bring up the table wizard, allowing you complete editing ability for the table including all cells, rows and columns.
- Snippets – Snippets are enclosed by brackets and can be added to any part of the message. Use the snippet selector button
 to add a snippet. Snippets can be formatted the same way as any other texts.
 - images

Images
Images may be placed anywhere in a blank document or within a defined cell. The default message format contains a cell for an image. To place your tournament logo in the cell, click on the cell and then click on the image editing button.
The easiest way to control the placement of an image in a blank document is to create a cell to contain the image.

Image Upload
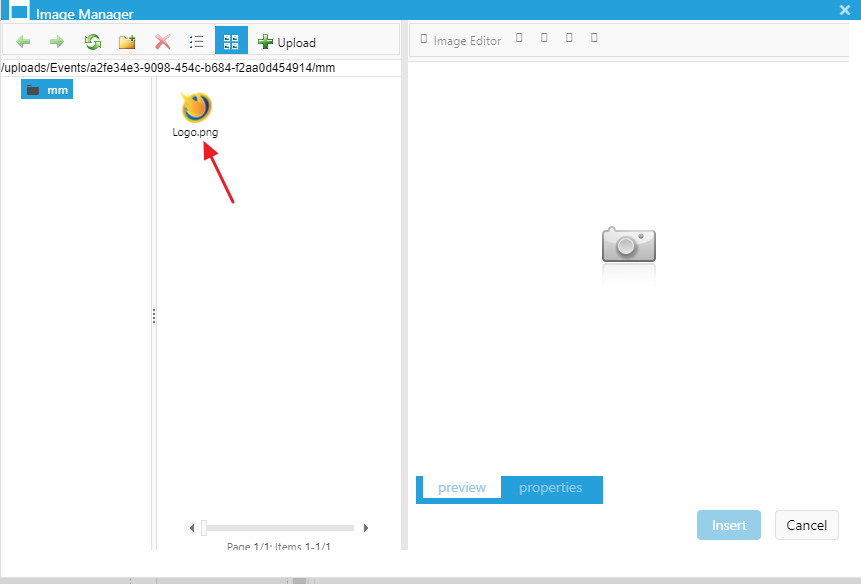
If you have previously uploaded any images for use in messages, they will appear in the middle column of this screen. To use one of those images, click on it and it will appear in the far right hand image editing column.
To upload a new image, click on the upload button:  which will bring up this window:


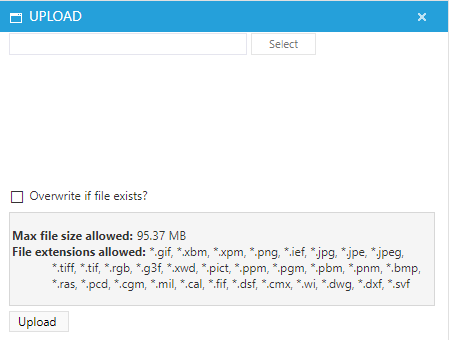
Click the Select Button to choose an image file from your computer to upload.
Image Editing
A preview of the image will appear.

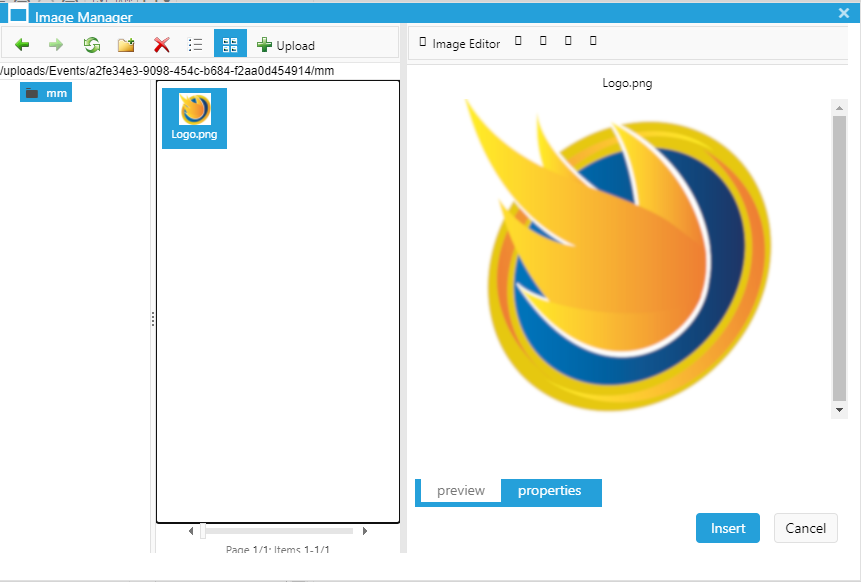
Click the Insert button to place the image in your message.
Hyperlinks
Click on this button to Add, Edit or Delete a Hyperlink: 

This screen will appear.
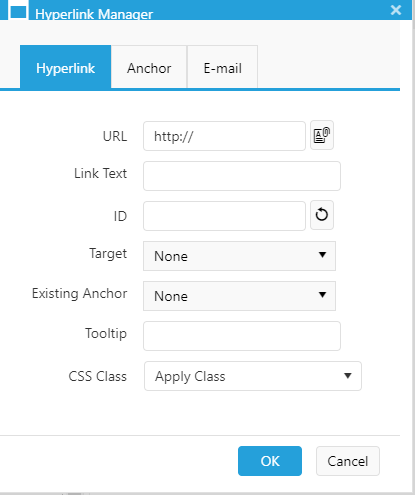
- URL – Type or copy and paste the address of the destination webpage here. Note the document manager button:
 Click on it to create a hyperlink to an uploaded document instead of a webpage.
 - Link Text – Type the specific text you wish to associate with the hyperlink.
- ID
- Target – Use the drop down menu to select a target. Typically a link will open in the same browser window or a new browser window.
- Existing Anchor
- Tooltip
- CSS Class

Documents
To add a document to your message, click on the Document button: 
If you have previously uploaded any documents for use in messages, they will appear in the middle column of this screen. To use one of those documents, click on it and a link menu will appear in the far right hand column.
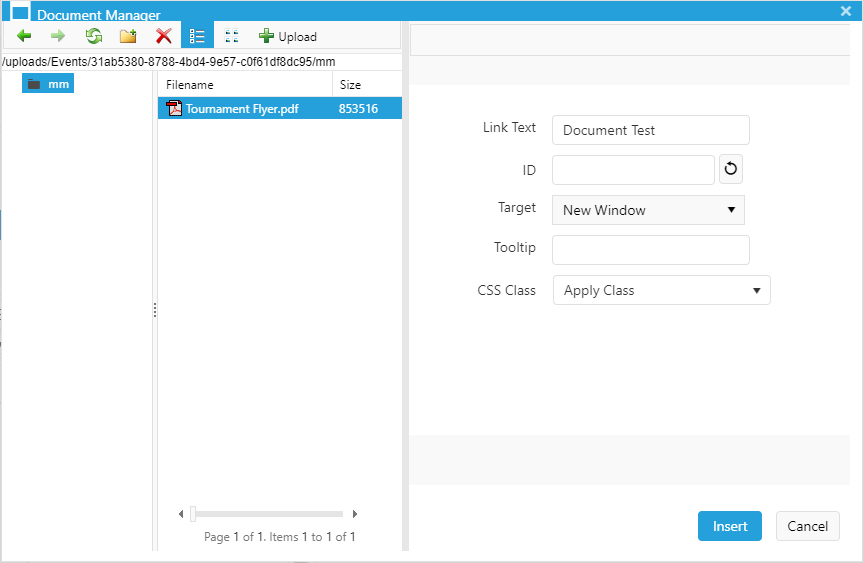
- In the Link Text field, type the description of the document that you wish to appear in your message.
- Use the drop down menu to change the Target to New Window.
To upload a new document, click on the upload button:  which will bring up this window:

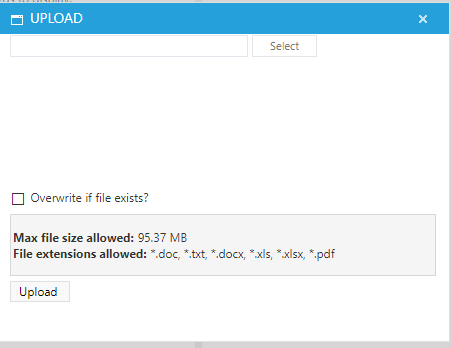
Click the Select Button to choose a document from your computer to upload.

Sending your Email
When you are finished making all the changes to your email, make sure to save your work before navigating away from the page. Click "Yes" under "ready to send as scheduled" and save again. This means that your email is ready to go, and will start the process of sending to the recipients according to the date you set up.
Was this article helpful?
That’s Great!
Thank you for your feedback
Sorry! We couldn't be helpful
Thank you for your feedback
Feedback sent
We appreciate your effort and will try to fix the article